
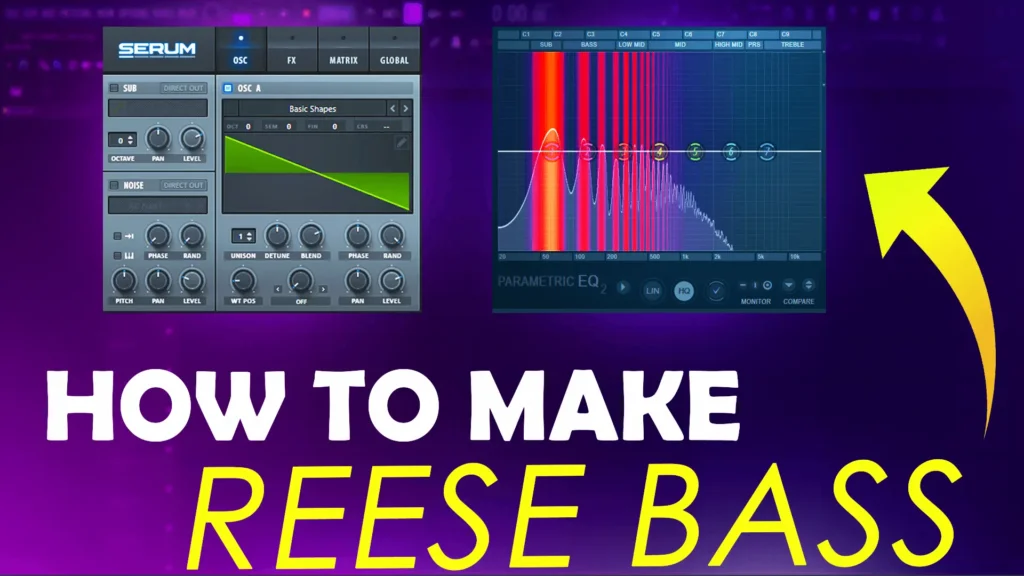
The Reese bass is one of the most powerful and recognizable bass sounds in electronic music.
It’s wide.
It’s detuned.
It moves.
And when designed correctly, it becomes the driving force of your drop.
In this guide, you’ll learn:
- What a Reese bass actually is
- Where it came from
- How to design it in Serum
- How to mix it properly
- How to avoid common mistakes
Let’s break it down properly.
What Is a Reese Bass?
A Reese bass is a detuned, harmonically rich bass sound created by layering two or more oscillators slightly out of tune with each other.
That detuning creates:
- Phasing
- Movement
- Width
- A thick evolving texture
It’s heavily used in:
- Drum & Bass
- Dubstep
- Jungle
- Techno
- Modern Trap
Unlike pure sub bass, Reese bass contains strong mid-range harmonics. That’s why it cuts through a mix instead of just sitting underneath it.
Origin of the Reese Bass
The sound originated in the late 1980s and is credited to techno producer Kevin “Reese” Saunderson.
He popularized it using detuned saw waves in early Detroit techno productions.
From there, it evolved into a defining element of drum & bass and modern bass music.
It’s not just a preset.
It’s a sound design technique.
Core Sound Design Concept
Before jumping into Serum settings, understand the foundation.
A Reese bass requires three key elements:
1. Detuned Oscillators
Two or more saw waves slightly detuned from each other.
Too little detune → weak movement
Too much detune → unstable mess
Balance is everything.
2. Low-Pass Filtering
Reese basses are harmonically rich. Without filtering, they become harsh and messy.
A low-pass filter:
- Tames high frequencies
- Focuses energy in low and mid range
- Allows automation for movement
Filter automation is what makes the Reese evolve.
3. Harmonic Enhancement
Distortion or saturation adds character.
Subtle saturation → warmth
Heavy distortion → aggression
Without harmonics, the Reese sounds thin.
Without control, it sounds muddy.
How to Make a Reese Bass in Serum
Here’s the clean step-by-step method.
Step 1 – Initialize Patch
Start with a blank preset. No effects. No modulation.
Step 2 – Oscillators
- Oscillator A → Saw wave
- Oscillator B → Saw wave
- Slightly detune one oscillator
- Use 2–4 voices of unison
Keep detune subtle at first. Increase gradually.
Step 3 – Add a Sub Oscillator
Activate the Sub:
- Set to sine wave
- Keep it mono
- Lower octave
This gives clean low-end weight underneath the detuned mids.
Step 4 – Low-Pass Filter
Route both oscillators into a low-pass filter.
Adjust cutoff until:
- Harsh highs disappear
- Body remains intact
Now automate the cutoff slightly for movement.
Step 5 – Add Distortion
Use Serum’s distortion:
- Tube or Soft Clip for warmth
- Diode for aggression
Don’t overdo it. Distortion is for character, not chaos.
Step 6 – LFO Modulation
Assign an LFO to:
- Filter cutoff
- Detune amount
- Or subtle pitch modulation
Slow LFO → smooth movement
Tempo-synced LFO → rhythmic Reese
This is what gives it life.
Step 7 – Effects
Optional but powerful:
- Chorus → width (only mids/highs)
- EQ → clean up 200–400Hz mud
- Compression → glue
Avoid heavy reverb. It kills low-end clarity.
Mixing Reese Bass Properly
Most producers ruin Reese bass in the mix. Here’s how to do it correctly.
1. Keep Sub Mono
Everything below ~120Hz should stay centered.
Stereo sub = phase problems.
2. Cut Mud (200–400Hz)
This area builds quickly with Reese bass.
Cut gently if it feels boxy.
3. Add Presence (1–2kHz)
Small boost here helps it cut through busy mixes.
4. Sidechain to Kick
Essential.
Without sidechain, kick and Reese will fight for space.
Use light compression — don’t over-pump unless stylistically intentional.
5. Layer Carefully
If layering with sub:
- Separate frequency zones
- Don’t let both dominate the same range
EQ each layer intentionally.
6. Check in Mono
If it disappears in mono, your detuning or stereo widening is too extreme.
Fix phase before release.
Common Reese Bass Mistakes
Let’s kill these immediately.
❌ Over-detuning oscillators
❌ Too much distortion
❌ Stereo low-end
❌ No sub layer
❌ No sidechain
❌ Ignoring mid-range buildup
If your Reese sounds messy, it’s usually detune or distortion overload.
When Should You Use Reese Bass?
Use it when you want:
- Aggressive drops
- Driving low-mid movement
- A bassline that carries harmonic weight
- Energy without relying only on sub
Don’t use it in minimal tracks that need clean low-end. It’s not always the right tool.
Final Thoughts
Reese bass isn’t complicated.
It’s:
Detune → Filter → Saturate → Modulate → Control
Master that chain and you’ll never struggle with it again.
If you want to understand how Reese compares to other bass types like Sub, 808, Saw, and FM bass, read your full bass breakdown guide next.
And if you want to improve how you write basslines (not just design them), check your bassline groove article.
Build knowledge in layers — just like bass.
Want to See This in Action?
Reading helps. Watching speeds it up.
Check out the full step-by-step Reese Bass tutorial on YouTube and follow along inside your DAW.
New sound design and production content uploaded regularly.
👉 Subscribe to Indovibe Studio and sharpen your production skills
Leave a Comment